How to Set Up Debezium with MySQL for Real-Time Data Streaming and Change Data Capture


How to Set Up Debezium with MySQL for Real-Time Data Streaming and Change Data Capture
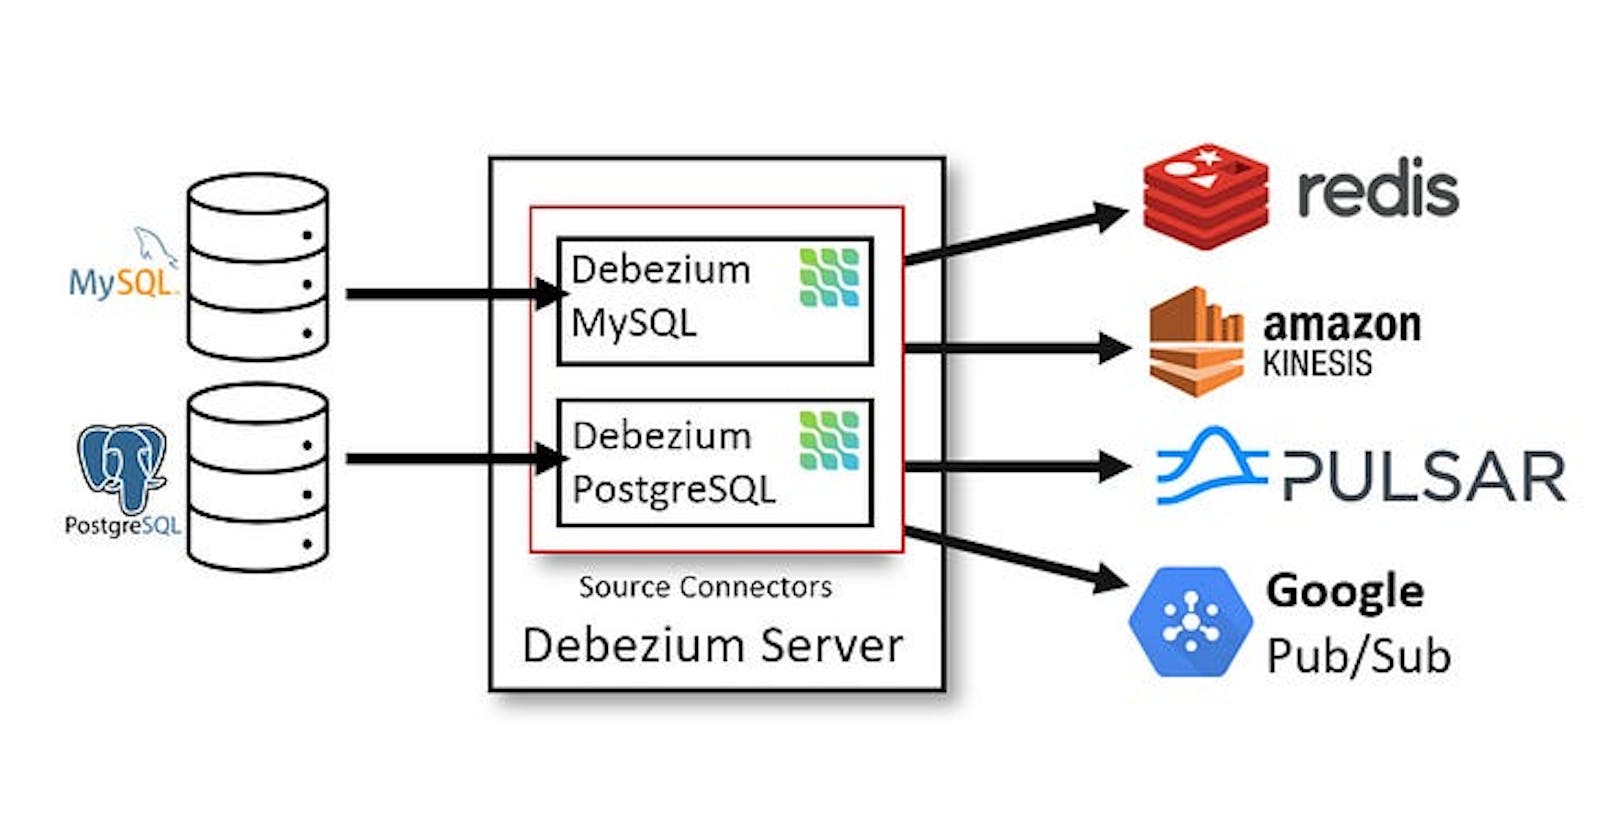
Debezium is a powerful open-source platform for change data capture (CDC) that can be used to stream and process data changes from various database management systems (DBMS). In this blog, we will discuss how to configure Debezium with MySQL, one of the most popular DBMS.
Before we dive into the configuration process, let’s discuss the prerequisites for Debezium with MySQL:
Prerequisites:
- MySQL Database: We need a MySQL database with one or more databases and tables that we want to capture changes from.
- Debezium Connector: We need to download and install the Debezium MySQL connector.
- Apache Kafka: We need to have a running Kafka cluster to stream and process data changes.
- ZooKeeper: We need a running ZooKeeper instance to manage the Kafka cluster.
Now that we have discussed the prerequisites let’s dive into the configuration process.
Step 1: Download and Install Debezium MySQL Connector The first step is to download the Debezium MySQL connector. We can download the connector from the official Debezium website or by using the following command:
curl repo1.maven.org/maven2/io/debezium/debezium.. | tar xvz
Once we have downloaded the connector, we need to copy the connector files to the Kafka plugin directory.
cp debezium-connector-mysql/debezium-connector-mysql-1.5.0.Final.jar /usr/local/share/kafka/plugins/
Step 2: Configure MySQL Database We need to configure MySQL to enable binary logging. Binary logging is a MySQL feature that logs changes made to a database so that they can be replicated to other servers. We need to enable binary logging by modifying the MySQL configuration file, typically located at /etc/mysql/my.cnf.
[mysqld]
log-bin\=mysql-bin
binlog-format\=ROW
server-id\=1
After modifying the MySQL configuration file, we need to restart the MySQL service.
systemctl restart mysql
Step 3: Configure Kafka Connect We need to configure Kafka Connect to use the Debezium MySQL connector. We can do this by creating a configuration file for Kafka Connect. The configuration file should specify the Debezium MySQL connector plugin and the MySQL database to capture changes from.
name\=mysql-connector
connector.class\=io.debezium.connector.mysql.MySqlConnector
tasks.max\=1
database.hostname\=localhost
database.port\=3306
database.user\=mysqluser
database.password\=mysqlpassword
database.server.id\=1
database.server.name\=my-app-connector
database.whitelist\=mydatabase
In the above configuration file, we specify the Debezium MySQL connector plugin, the maximum number of tasks to run, the MySQL database hostname and port, the MySQL database user and password, the server ID, server name, and the database to capture changes from.
Step 4: Start Kafka Connect After configuring Kafka Connect, we need to start it to begin capturing changes from the MySQL database.
bin/connect-standalone.sh config/connect-standalone.properties config/mysql-connector.properties
Step 5: Verify the Setup To verify the setup, we can use the Kafka console consumer to read messages from the Kafka topic where the data changes are being streamed
bin/kafka-console-consumer.sh --bootstrap-server localhost:9092 --topic my-app-connector.mydatabase.mytable
This will output the data changes that have been captured from the MySQL database.
Debezium documentation: https://debezium.io/documentation/reference/1.6/connectors/mysql.html
Confluent documentation: https://docs.confluent.io/platform/current/connect/debezium-connect-mysql.html